What is Pushing and pulling? Can it be done with Digital, or is it a strictly film practice?
Well, the answer to that question is... well, yes and no. Can you push a digital image, you can. But that is all done in post processing, and requires a lot of patience. And, like film, will work a similar way, but instead of accented grain, you get accented noise. More often than not, it doesn't look very appealing on digital, where as on film it can look pretty good!
With a lot of patience and care you can do it with a digital image.
Lets take this image, for instance..


So now you can see more detail inside the bus, and even behind and around it.
This is essentially similar to PUSHING film. You can see the highlights have also started to get a fair bit stronger and it is a higher contrast. But, in areas that had no exposure, such as under the bus, behind the driver, and around the houses in the b/g, they are still in shadow. Since there is no exposure, there is no information to bring out.
Now how does this relate to pushing a film? Well, lets take that the image was about 2 stops under exposed. That's because I set the cameras ISO setting to 200 so that I would get a smooth motion on the vid screen of my phone to compose it. I chose a phone image over a dSLR as, for one I had no under exposed image for my dSLR, and 2, this image is probably one of the better images to use for explaining a push.
So what did I do to "push" this image?
well, first off I changed the curve to bring out more of the midtones and started to try to draw out the shadows. In doing so I caused the image to feel... well washed out and unbalanced. So I had to increase the highlights, and when I did that the image looked better but it just didn't have the right balance, as it was definitely washed out with light shadows, smooth midtones, and highlights that were strong, but seemed to blend too much with the mid-tones..SO I had to increase the contrast. This is where it starts to resemble a pushed film. The shadows stay dark, as they are supposed to, instead of a 18% gray, or a darker gray shade, and the highlights start to feel a little over powering. The problem is, if you scale back the highlights, they actually become dull, and blend with the mid-tones, and the image feels flat.
So in theory, yes, you can push a digital image,.
So what about pulling a digital image?
This is where film and digital actually start to slip apart. Pulling a digital image is far more difficult, as the highlights are going to lose detail far faster than the shadows will.
This is where Latitude starts to come into play, and where film starts to win the fight. At least, Negative film. Not a FILM vs Digital post, I'm explaining Pulling and Pushing. I have explained PUSHING with a positive image in a digital sense, and now pulling.
See, when you pull an image, you are actually halting the development of the highlights after over exposing the image. This is the tricky part with digital. It is also tricky with E6 films, which are a positive image similar to Digital. The only thing is, with an E6 film, prior to developing the film, you can decide on how to develop it.
Wth positive film that is over exposed a stop or 2, and you pull it, you keep the highlights from developing to the point of clipping, and create a smoother contrast over the image.
This is the point where digital cannot compare... to work around this, photographers develop an HDR image, which stands for "HIGH DYNAMIC RANGE".
The problem is when you see most HDR images, it has the Saturation pumped way up, and it looks like a false image. See the human eye actually lies to you and what you see. The brain is so powerful that it will actually adjust the image your eye is seeing and keep the highlights that you see from being just that. In fact, if you look at a darkened place while in a bright area, no with the sun in your eyes, you can see into that darkened place, so long as you don't have any strong reflective surfaced rebounding harsh lighting into it.
And if you are in a dark area and look outside, good chance that you will be able to see some of the colours of the sky
Your iris will adjust itself against the light. Narrower for bright, and wider for darkened areas, similar to how the camera works. But unlike the camera your brain has exceptional corrective abilities that film or digital does not.
So the image you see in an HDR image feels, well, like it is wrong, and that it just isn't how it should be.
But the concept is usually there. The sky is a smooth shade of blue, tapering off toward the grown as a lighter cyan until it makes contact with the Earth. At that point the shadows are now defined, and you get a good fair amount of detail in the darker areas of the image, without it being washed out or clipped. Underexposed shadows, or over-exposed highlights just don't exist!This is how digital has begun the process of how to "PULL" an image, and in doing this, the photographer takes a series of bracketed images. Say a series of 7 shots. One being the control, or EI0, 3 at +1 +2 and +3, with the other three at -1 -2 -3..
Using a program light Aperture, lightroom, or Adobe Photoshop they combine these shots and create a layered image. The photographer then can pick and choose how each layer intertwines and defines each zone.
They can bring Shadows up to Zone IV, while pulling the highlights back to zone VII keeping everything within equal viewing range, and having a smooth contrast image that is not over powering, or under whelming.
That is a whole bunch of added steps to pull a digital image and keep it from being over-exposed, or under exposed.
Take that same roll of E6 positive transparency film that you over exposed 2 stops. Well, when you pull it in processing, you are halting the development of the
This causes the image to lose contrast, but gain shadow detail and retain the critical highlight detail. This is very useful when shooting without gradual N/D (Neutral Density) filters, which help against over exposed highlights and keeping the ground and shadows in a more visible range, instead of dark and underwhelming.
highlights, and allowing the shadows to actually catch up!
So that's the idea behind pulling a film.
But all that did was cover Positive film, and not negative film.
Yes, but the theory is the same. Negative film has a higher (much higher) latitude than Positive films, like E6 and Digital, which sometimes you do not actually have to waste your time with a Push Pull method.
Many modern emulsions have enough latitude to capture a under exposed image, sometimes even up to 3 stops under, or an image up to 3 or even 4 stops over exposed! And to do all that without a single change in how your developed the film. It handled it through the latitude of the film itself.
So in a basic nutshell, lets look back at this. What is Pushing and what is Pulling.
Pushing is the method of under exposing an Image and taking more time to develop it. With digital, it means fine tuning the curves to try to keep it from being overly noisy, yet still well defined. Trying to control the contrast, highlights, and not letting the shadows become a gray tone and noisy.
With film it means that you spend more time developing the film. As pointed out with a digital image, you will not gain shadow detail at all. You increase the contrast, and brighten the mid-tones and increase the density of the highlights. Stronger, brighter, and more dense highlights, while keeping deep and solid shadows. Where there is no exposure, there can never be exposure, so you can push until the film just stops reacting to the developer, and you will never gain any exposure in the shadows. Where there is no information, you cannot draw out information.
With film it means that you spend more time developing the film. As pointed out with a digital image, you will not gain shadow detail at all. You increase the contrast, and brighten the mid-tones and increase the density of the highlights. Stronger, brighter, and more dense highlights, while keeping deep and solid shadows. Where there is no exposure, there can never be exposure, so you can push until the film just stops reacting to the developer, and you will never gain any exposure in the shadows. Where there is no information, you cannot draw out information.
 So lets take a film out there like Polypan F. This is a 50ASA rated film, so we'll take a look at an image I took at 50ASA, developed normally. The film is smooth, with even and lovely contrast, and some lovely gray tones that make this film super famous, especially after the promotion and work that myself, and fellow Polypan Shooter and abuser Larry Dressler has done. The thin base, lack of anti-halation, and polyester backing make this film prone to blooming, which is the spreading of the highlights.
So this is quite a basic image, nothing special. How does it relate to pushing or pulling?
Actually, quite a lot! This is showing the film as it is supposed to be. Exposed and developed at box speed, without any extra steps.
Actually, quite a lot! This is showing the film as it is supposed to be. Exposed and developed at box speed, without any extra steps.
So lets say I have only that same 50ASA film and I just went from the bright outdoors to a subdued lighting indoors.
I could;
I could;
A) Use a tripod
B) Use a flash
C) Push the film
So I don't have or cannot use a flash. A Tripod is not an option. and will be rather difficult to use, so I will choose option C. I will push the film.
How much, is the question. Lets go with 2 stops so ASA200.
How much, is the question. Lets go with 2 stops so ASA200.
 So here is an image I exposed at 200ASA with Polypan F. Shot indoors, slightly different lighting, and a completely different time of year, but the principle is the same.
Longer time in the tank to develop the mid-tones and highlights. So the highlights start to get stronger (look at the cup behind the hat, shadows are deeper and the image becomes higher contrast. Under the hat is black, while the hat itself remains quick evenly toned. Contrast is also significantly stronger.
This is pushed film.
So lets now recap this entire post on Pushing and Pulling.
Pushing and Pulling is a method that is done at the development stage of processing your film. It cannot be done before or after the film is processed.
It is through over exposing and under developing, known as pulling, or under exposing, and over developing, which is known as pushing.
So how can you call what I did to the digital image Pushing? Because it is during the Processing stage of the image, before the final image. That said, the negative is not the final image, but the Print is.
Working with an under exposed and normally developed negative is very difficult.
When do you use PULLING as a technique?
Well, lets say you load some 400ASA film, but either forget to set the ASA dial, or in the case of AUTO-DX coded cameras, maybe the canister isn't DX coded, or it is a bulk loaded can. The ASA setting on the camera is slower than the loaded film, and when the images are all shot on the roll, they are over exposed.
Then you'd consider pulling. Some films that is unnecessary for 1 or 2 stops, while others it is very necessary to prevent over exposed and overly dense negatives.
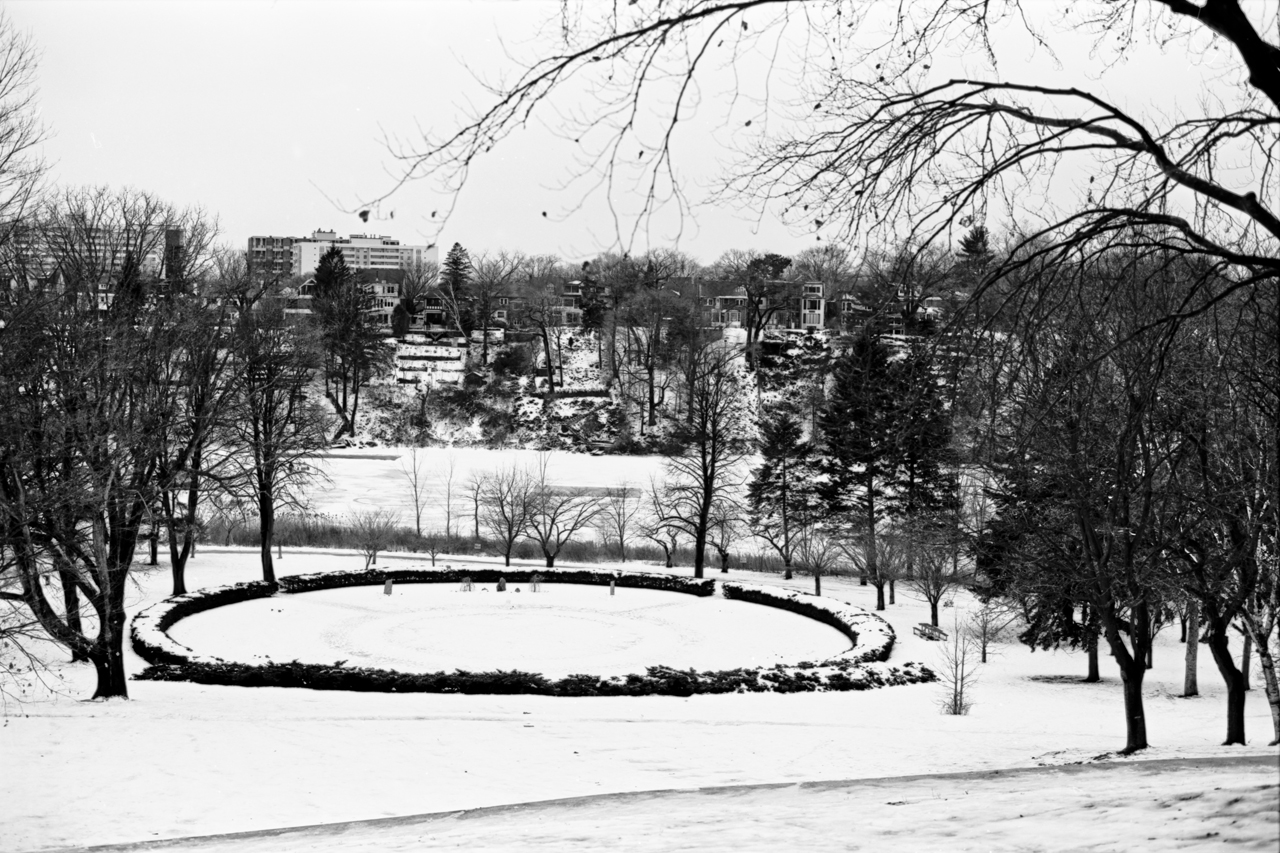
The other reason is to control contrast in high contrast scenes, like say a beach or a snowy landscape. Or perhaps to reduce the contrast of a high contrast film, like Microfilms.
There are many reasons to pull a film, and some are employed by large format photographers who use the "ZONE" system.
What about pushing a film?
Pushing a film, well, similar idea. You load a slower film and require a faster one, or forget to reset the speed dial and leave it faster than the film loaded, or the DX coding isn't set. This is when you'd consider pushing a film, or to gain contrast in lower contrast films.
Even photographers who use the Zone system will also push a film
So in a basic nutshell, that is pushing, and pulling, film.
It is not quite as complicated as all the above, but it sometimes requires more explanation than just;
PUSH = UNDER EXPOSE OVER DEVELOP
PULL = OVER EXPOSE UNDER DEVELOP
Sometimes you'd like to know when to apply such techniques, or why people employ such techniques.
Until next time, Keep those shutters firing!
Until next time, Keep those shutters firing!