Showing posts with label photography. Show all posts

Friday, August 11, 2017

TFSM Informal August Long Weekend Meetup


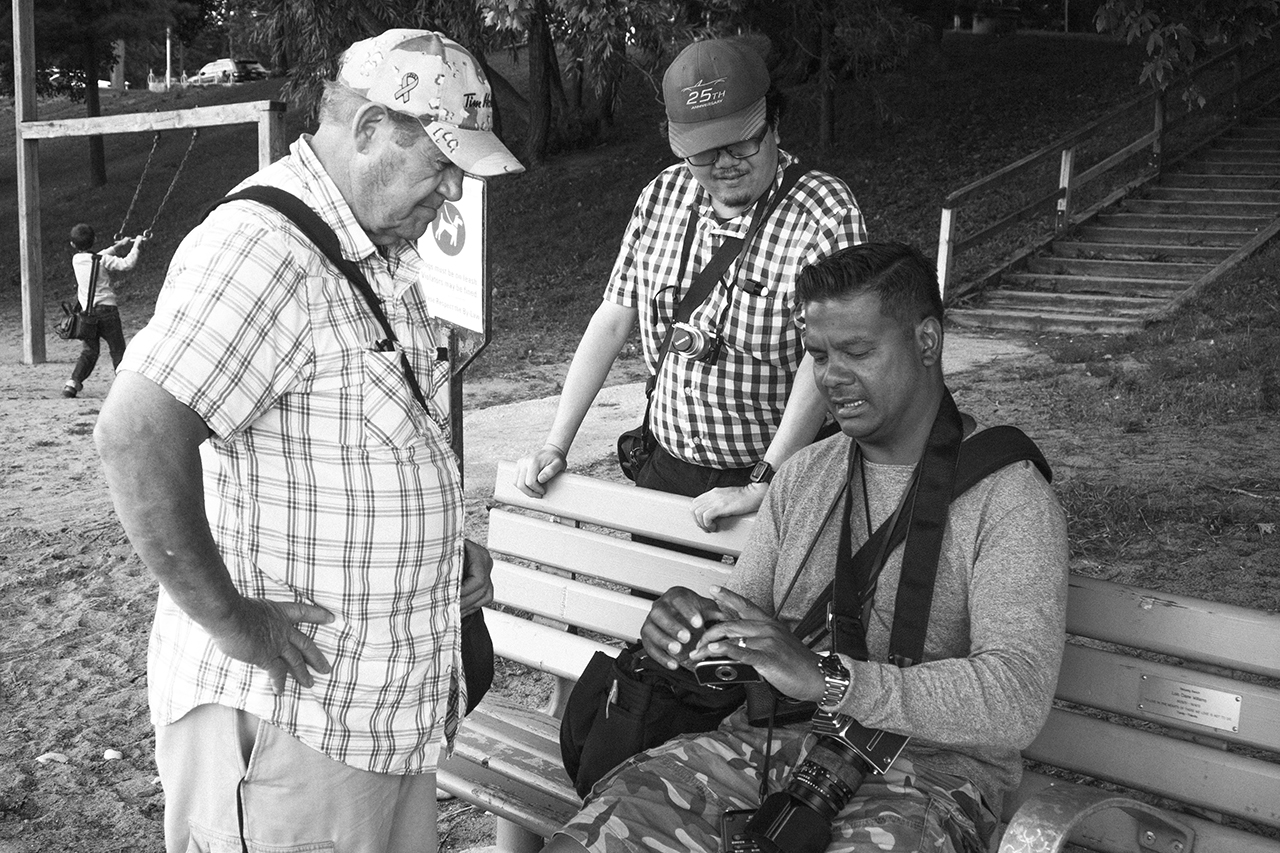
On the 5th, the Toronto Filmshooters Group, as suggested and Organized by +Bill Smith, got together for a walk in the Beaches.  Starting at "THE REMARKABLE BEAN" and finishing at a little craft brewery on Eastern Avenue called Rorschach Brewing Co.

Along the way made for some interesting shooting, but I didn't just have a 35mm SLR around my neck.. Nope, I had a dSLR to capture some quick shots around and to get some shots of the gang out there shooting ...


Of course, what TFSM photo walk is complete without some film shots, considering it is a TFSM meetup!


All film images were taken on the Argus A2 Pre-War model on Rollei Superpan 200 and developed in TMAX Developer.

Until next time everyone, keep those shutters firing!

Thursday, April 14, 2016

Choosing Your First (FILM) Camera

Boy it has been a while. Between packing to move, getting the house ready, school, work and life in general, I've been really busy and haven't had a chance to post.  Heck, I've barely been able to shoot any film!  However I do manage to get out from time to time, or just pick up a camera and fire off a frame. If JUST to keep in touch with the film world.

Now, choosing our first camera can be a daunting and troubling thing to do.  Most people choosing their first film camera will be coming from a digital world. How do you pick up that first film camera? I mean... Digital is easy... just set to "A" and off you go, right?
Well, not really.. You can, but you lose the creative control that you should always strive to have when shooting. 

Now I'm not going to talk about being a complete novice to photography. In this idea of picking your first film camera I shall assume that you have at least some experience shooting with a digital camera and have some working knowledge of how exposure works.
You know, how ISO, Aperture and shutter speed play in with each other.  So lets go into the world of your first film camera....

What system do you currently own?  Nikon? Pentax? Sony/Minolta? Canon?  Or do you shoot Leica? It doesn't really matter, actually. One thing that can help you, though, is that if you are shooting any of the above SLRs (Leica is a Rangefinder, relax I know!) you can actually use the modern lenses on their older film bodies. BUT not all the lenses are made the same, nor will they all work.
Modern Nikon lenses most likely will not work on the film bodies, while the older film lenses should mount and work on the modern Nikon Digitals. I cannot truly speak for sure here, as I do not have a Nikon body I can test that theory out. HOWEVER I have used a more modern Sigma (Nikon AF D mount) lens on my Nikkormat and my Nikon F90. It worked flawlessly, so I know that some lenses are backward compatible.  Same goes with Sony, Pentax and Canon. HOWEVER... you cannot use mirrorless lenses on any film body... Period..  The Sony SLR lenses (provided it isn't a crop sensor lens) will mount just fine to a Minolta Autofocus camera and work.  Same goes with Pentax and Canon.  Any and all canon EF (Not EF-S or EF-M) will mount and work on a Canon EOS Film SLR.

All this can easily help play into your first Film Camera.

The next thing is to inspect your camera. One thing that you have to inspect on film cameras that you won't find on a digital are light seals. See, the film door has a foam or felt seal around the edge of the back. The prevents light from entering the back of the camera and exposing the film.
Also on older cameras the mirror bumper (a piece of foam) will also degrade over time and can dissolve onto the mirror itself.
This should also be checked and replaced if necessary.
Next are the shutter curtains themselves.  On newer model they are usually a vertical travel focal plane shutter, usually made of a high grade plastic/compositite. The light seals around those CAN possibly degrade and create a sticky mess on them. This should be checked and cleaned (GENTLY) if possible. If not, sent out for a CLA (CLEAN LUBE ADJUST) to clean that up.

Now onto Rangefinder cameras.  Rangefinders are another camera that has its own share of things to check for. So lets gets started..
Light seals are one of the first things to check. The film door, just like on SLRs, will have foam or felt seals that prevent light from entering and exposing the film. This is very important to check.  If they are degraded they will need replacing.
Next is the mirror in the rangefinder. Are you getting a bright and contrasty double image? Or is it faded?  If it is faded the beam splitter could be fading or the silver on the mirror could be fading. That will need replacing and fixing.
Check the alignments. The horizontal and vertical alignments of the rangefinder. This will tell you if the focus is properly culminated to the lens. If you find that the horizontal alignment is off it will entirely throw off your focus.  First is to go all the way to INFINITY and see if the image lines up in both your viewfinder/rangefinder and the mark on the lens. If you find that the item at INFINITY (at least 100 to 200 feet away) is not lining up (getting a double image) you need to adjust the rangefinder culmination to make sure you don't mess up the focus.
Next is the vertical. Not as critical as the horizontal as it won't cause you to miss your focus, but can if the alignment is too far off. Adjusting the alignments of the rangefinder can be as simple as turning a couple screws... Or as complicated as a disassembly of the entire top of the camera... or more..
The Argus C3 Brick is one of the simplest rangefinders to adjust, where as the Canon 7 is extremely complicated.

Okay, so everything so far has checked out pretty good. Light seals are in decent shape, or can be easily replaced.. Shutter curtains are good, mirror is clean... All in all the camera you chose, rangefinder or SLR, is in good working order... Or is it?
Does it require batteries? Oh crap, it does. CR2... 2CR5.. CR123... AAA... AA.. PX625... LR44.. So big deal.. Pop the batteries in and... What the heck is that green stuff all over the place!?
This is the one thing you have to watch out for with batteries.. Corrosion! Yes how lovely.. But do not despair.. All is not lost. In fact, corrosion is fairly simply to clean up.  Just some white vinegar and some Q-Tips.  Wait?! Vinegar? 
Yes, absolutely!  Vinegar is actually a fairly strong acid. In fact, you can get 3% vinegar, which is basically just Acetic acid.  Using a small amount applied to your cotton swab you can clean out pretty much all the corrosion, which is alkaline based. The Vinegar will cause it to foam and melt away.  Once that is done, you can take a small metal file to brush against the spring contacts to clean them up and add a bit of abrasion to clear off the metal to make a good contact against your battery.
However some battery housings might be more difficult to clean than others.

So everything is good now. Camera is 100% functional... Now what?

That is up to you... Does the camera feel good in your hand? Do you like it?
Ask the owner to let you hold it in your hand for a while... Or is it in a store? Ask if you can walk around with it in the store for a bit.. Maybe they have a lens you can try on it. See how it feels after 10 minutes pretending to snap a photo or three with it.
Still feel good?  Great!

So it looks like things are good.

Remember, picking your first film camera shouldn't be a chore. It should be an inexpensive first purchase. One that you can learn the ins and outs of film photography with.

Another thing that was mentioned to me by fellow photography +Bill Smith is that a consideration should be about the availability of batteries, or about the possibility of a camera repair technician to fix the camera should something ultimately go wrong.  Very good ideas and valuable knowledge to have.

Thanks Bill!

Until next time, keep those shutters firing!

Saturday, March 1, 2014

Eastman 2366 Duplication Film

I was given a couple of rolls of Eastman 2366 B&W Panchromatic film, which is a high contrast film for titles, and not actually intended for use as a pictoral film.  That said, however, it works very nicely in a 35mm camera, and will give you some serious contrast!  Of course, it also can be tamed using the proper techniques.  I have not yet managed to fully tame it, as of yet.

I am still working on that.

So I gave it a whirl in Rodinal 1+50 at ASA 6..


For some very smooth chromey silver type of look, it is excellent.  It has some of the finest grain I have seen, short of ADOX CMSII, and some incredibly rich tones.
Of course, this is not Polypan film, and seems about right with ADOX CMSII for gray tones at a similar ASA speed.
That said, however, it does have a bit higher contrast.
I shot the CMSII in my Bolsey B2 at the same speed, and found that the CMSII film's contrast was a bit more even, but barely.  It didn't quite clip to blacks or whites as quickly as this film does.  Then again, that could be a number of factors, such as light conditions, weather, and even just the time of year.
When I shot the CMSII at EI6 I shot it during the summer, while this film was shot in the winter, so you're going to get a little bit higher contrast, especially with snow on the ground!

Nevertheless, I will try this film again, perhaps a roll from my good friend John, who I managed to snag him into buying a bulk roll of this (sorry) after I gave him a roll to try out.
He absolutely loves the film.
Check out his blog post on it.

So far I am enjoying this film, and do have to try it behind some filters.  Perhaps yellow?

Until next time, keep those shutters firing!

All images taken using a Canon T90 35mm SLR using a 50mm ƒ/1.4 FD lens on Eastman Fine Grained 2366 film and developed in Rodinal 1+50 at 20°C with a 'slow' agitation regimen.


Friday, February 28, 2014

Roll Developing

I have learned a technique for developing sheet film from a friend, and fellow photographer, +Holger Drallmeyer.  Now, he doesn't take full credit for it, as his method is using 300mL of chem, and usually uses it for C-41 developing.  I have refined it to using only 100mL of chemical.

I have been asked many times, how do I do my developing?

Well I have been promising my blog post for it for a while, but haven't yet done it.  Until now!

So, for starters, I use a 5-roll Nikkor Stainless steel tank with a Kindermann plastic lid.  They seem to work very well together, nice and tight!
This is very important to prevent leakage.
This is the tank and lid I use.  Behind I have the 650mL cylinder that is filled up to the 300mL mark.  This will be used for 3 sheets of film, 100mL at a time.  I decant it into another cylinder to 100mL.  This is specifically done to make sure I have the suggested 6mL of developer, as I use Rodinal for 4x5 sheet film.  Of course, I don't always do this.  Sometimes I mix it 100mL at a time with 2mL of developer, as I use a 1+50 ratio.

The green bucket is my dump bucket.  I pour all used chemicals into that afterward, other than Fixer, which I use a 1200mL cylinder.  Normally I also have a drip tray when I am doing inversion developing, or using my Combi-Plan sheet film developing tank, at least if I am developing 6 sheets at a time, which is very rare.  I specifically use that these days for STAND developing, as my Roll Developing technique seems to suit me very well.
Lastly, this is also done at the edge of the table, and for easy clean up sakes, try to put some newspaper or a old towel on the floor under the lip of the table, as chemical can always potentially drip out of the tank.
So first thing is first.  The film.  We need to get that sheet of film out of the holder.  So, get your holder and have the tank ready.  As you can see this is in the light.  When you do it you have to do it in complete darkness, or under a 7w DARK GREEN safelight (unless you are using super panchromatic/IR film which requires complete darkness), which might as well be near on pitch black.  This information has been shared to me by another friend +Kelly-Shane Fuller who is a very gifted technician with cameras, chemistry, and apparently even cars/motorcycle engines.
That doesn't say anything about his photography, though, which is phenomenal!  A very very good photographer.  Easily rivals my work, if he would stop shooting Selfies I think he has a lot of potential (sorry an inside joke between the two of us).
But in all honesty, he really is an exceptional photographer, as is +Holger Drallmeyer.  If you get a chance, check out their work!
So opening up the holder we have now got the film ready to be removed from the holder.  Now before you say, "Good gawd man, you just ruined a perfectly good sheet of film!" you would be wrong.
This sheet of film is Chinese Shanghai GP3 film which is suffering from their complete near on lack of Quality Control  There is a good half cm (1/4 inch) missing of emulsion off the acetate, and 1cm (1/2 inch) of anti-halation missing.  Plus there are machine marks and pinholes in the emulsion.
So it is used now for experiments, and stuff like this.
From there we need to load that film into the tank. You need to cup the film slightly to fit it into the tank, making sure that the emulsion is facing toward the middle of the tank.
The reason you want the emulsion side toward the middle is so that the chemical washes across the emulsion first and foremost, for if it is facing toward the edge of the tank, it might stick to the edge, get damaged, or not develop.
Don't worry, the anti-halation layer WILL wash off.

The other question I have been asked is, "How do I know that 100mL is enough chemical to coat the film, and how did I come to that conclusion?"
Simple.  I developed a BLACK sheet of GP3 in 100mL of chemical and it developed evenly.  I have developed many more sheets of film using 100mL (and the last one with 75mL) of chemical perfectly!  I have been tempted to try 50mL, but am worried it won't work.  Have to try it with a 'scrap' sheet sometime.
I guess in answer to the question is just that.  It was a guess, and it worked!  I started at 300mL but thought that 300mL is a little much for one sheet.  So I reduced it to 200mL without a problem, then finally got to 100mL and am really happy with that!
10 sheets would be 1L of chemical solution, which is awesome, considering my CombiPlan uses 1050mL of chemical and will only do 6 sheets, and the FR Tank will do many more (I think either 10 or 12 sheets) but uses 1500mL!!
So now we have the film in the can, the lid is on, the lights are on, and we're just about ready to get started. Right, so now what?
Easy, we get the chemical ready.  I usually have at least 2L of water at around 18°C ready to go for mixing and using for stop bath.  Of course, I also usually develop a good 4 to 6 sheets in one session.  First sheet is developed, then it goes into the sink to be washed.  While washing, I'll develop the next sheet.  When it is done developing, I take the sheet from the wash, and put it into the Wetting Agent bath, and develop the next sheet.  Then it's like a procession.  Develop, wash, wetting agent, hang to dry.
And when I am done the last sheet, I set a timer for 15:00 and let it wash for that amount of time.
I almost always leave the film in the wetting agent for 5:00 unless I am developing, then it can be for about 15:00 or more, depending on how long it takes to develop each sheet of film.
So now we have the 100mL of chemical ready to go.  So lets get started!  Pop the filler cap, and pour it into your tank and start your timer.
This is where this method starts to excel over the inversion method.  You can actually reduce your developing times by about 10% because it is "constant" agitation!  The faster you agitate will control your contrast and grain levels.  Faster agitation = more grain more contrast.  Slower agitation = lower grain and lower contrast.
Of course using a different developer, like HC-110 or TMAX Developer will change those as well.
I just really like Rodinal with 4x5 because of the high acutance and incredibly smooth tones.
+Alex Luyckx will contest to that and say, "No way, Pyrocat PMK All the way!" 


Keeping the tank on the edge of the table, so it is flat, you roll it back and forth.  You can go fast for higher contrast, but you will increase your grain, or slowly to keep grain down and a smoother contrast.
On the right image you will see a line that I have drawn on the can.  This line says, "ROLL PAST" which is so I know I have given the can a full rotation left to right/right to left.
When the time is up you dump the developer, and pour in your stop bath.  Continue to roll it back and forth for at least 1 minute.  When that is complete, dump that bath and pour in the fixer.
I fix for about 5 minutes continuously agitating the film the same way.  
And now that we've finished developing it, we can pour out the fixer and peek at the negative.  And here it is!
Perfectly developed negative!

So as you can see, this method works very well, and can be used for C-41, E6, and B&W developing.

When you start using this method for developing film, you'll start to tray develop less and less.
Or maybe you never have tray developed your film, or you haven't shot sheet film before and were intimidated by tray developing, this is an excellent alternative to tray developing.
For one, you can do it in the light instead of complete darkness.  This method is easily controlled, and has less of a chance of scratching your film, pretty much almost a "NIL" chance of it.  Plus, no elastic band marks from the "TACO" method.
This is an excellent method for developing your 4x5 sheet film, and even 5x7 sheet film, as 100mL will even cover 5x7 sheet film.
Hope this was informative and gave you some insight into another, and possibly easier, method to develop sheet film!

Until next time, keep those shutters firing!